Picture this.
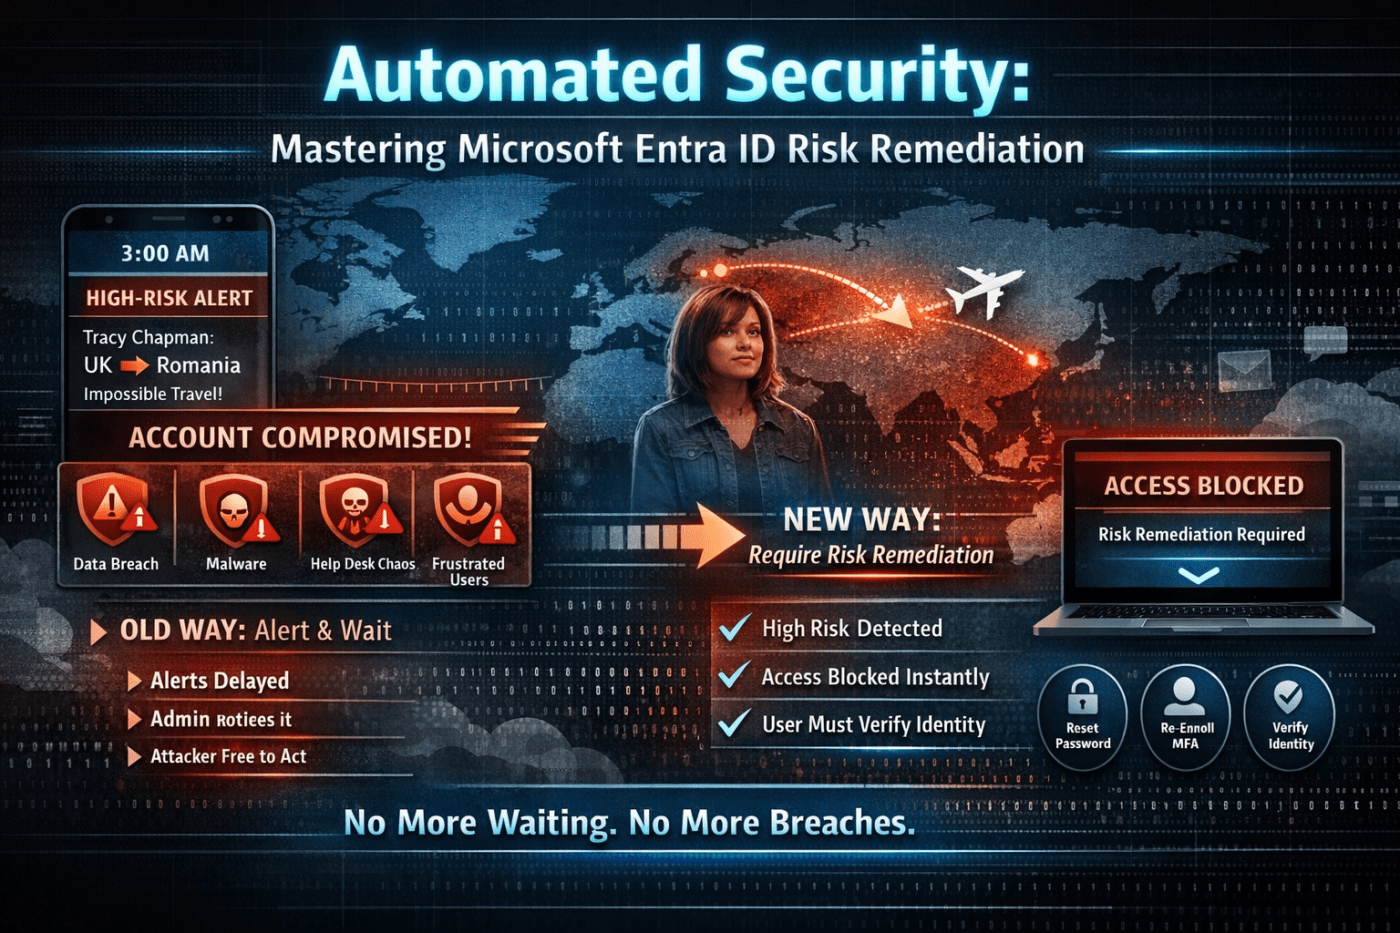
It’s 3 a.m. Your phone lights up. High-risk user alert.
Someone from marketing logs in from the UK… then ten minutes later from Romania. Impossible travel.
You glance at it, think “I’ll check it in the morning,” and go back to sleep.
By the time you investigate, the damage is done. Mailbox rules created. Files downloaded. Helpdesk tickets piling up. The user is frustrated. Leadership wants answers.
This scenario plays out more often than we like to admit.
The good news? There’s a smarter way to handle it using Require Risk Remediation in Microsoft Entra ID Conditional Access.
Let’s break it down in a practical, real-world way.
Understanding How Identity Protection Has Evolved
The Old Way: Detect and Notify
If you’re running Microsoft Entra ID P2, you already have strong detection built in.
It can flag:
- Impossible travel
- Sign-ins from unfamiliar locations or devices
- Credentials found in data breaches
- Logins from malicious IP addresses
- Anonymous proxy or TOR usage
Microsoft combines all of this into a risk score for the user.
That’s powerful.
But detection alone isn’t protection.
The old model depended on:
- Alert generated
- Admin notices it
- Admin investigates
- Admin takes action
That gap between step 1 and step 4 is where attackers live.
And when you’re juggling tickets, projects, and actual sleep, delays happen.
The Problem: Alert Fatigue Is Real
Security teams don’t ignore alerts because they don’t care. They ignore them because there are too many.
Some alerts are noise.
Some are medium confidence.
Some look suspicious but turn out harmless.
Over time, even serious alerts can get buried.
Meanwhile, a compromised account stays active.
That’s the weak spot this new control fixes.
What “Require Risk Remediation” Actually Does
Instead of just alerting you, Conditional Access takes action automatically.
When a user is marked high risk, the next time they try to sign in:
- Access is blocked
- They must remediate the risk
- No admin intervention required
That’s the shift.
It moves you from reactive cleanup to automatic containment.
This is configured inside Conditional Access using the Require risk remediation grant control.
What Happens to the User?
If the account is genuinely compromised:
- The attacker gets blocked immediately.
- They cannot access any cloud apps.
If it’s the real user:
- They’re prompted to reset their password
- They may need to re-register MFA
- They must complete identity verification
Once they complete the remediation steps, access is restored.
If you’re running passwordless:
- Users may need to re-register FIDO2 keys
- Reconfigure Windows Hello for Business
- Refresh passkeys
Either way, the risk must be cleared before access is granted.
No waiting for IT. No ticket backlog.
Licensing Requirement: Important Detail
This feature requires Entra ID P2.
If you’re on Business Premium (P1), this capability is not included.
P2 unlocks Identity Protection and risk-based policies like this. If identity security matters to your organisation, this is one of the strongest justifications for upgrading.
User Risk vs Sign-in Risk (Know the Difference)
This policy works on user risk, not just sign-in risk.
Here’s the distinction:
- Sign-in risk = One suspicious login event
- User risk = The account is likely compromised based on multiple signals
User risk looks at patterns over time. Leaked credentials plus suspicious activity? That’s high confidence compromise.
That’s why this control focuses on user risk. It’s more reliable.
Choosing the Right Risk Level
You can trigger remediation at:
- Low
- Medium
- High
Start with High.
High risk usually means strong evidence of compromise.
Medium can generate noise, especially if you have frequent travelers or remote teams.
Roll it out carefully and tune later if needed.
How to Configure It (Step by Step)
Inside the Entra Admin Center:
- Go to Protection > Conditional Access
- Select New Policy
- Name it clearly
Example: “Block High-Risk Users – Auto Remediation”
Assignments
- Users: All users
- Exclude: Break-glass accounts and core admins
- Cloud apps: All cloud apps
Never skip exclusions for emergency access accounts.
Conditions
- Enable User risk
- Set level to High
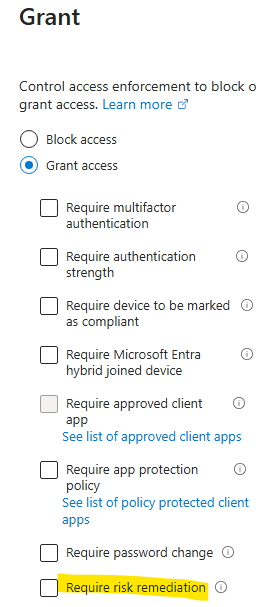
Access Controls
Under Grant:
- Select Require risk remediation
You can also require MFA or specific authentication strengths alongside it.
Save it.
But do not enable it yet.
Always Use Report-Only Mode First
This is critical.
Switch the policy to Report-only mode.
Let it run for several days.
Review:
- Who would have been blocked?
- Are executives triggering it?
- Are travel-heavy teams showing up?
Report-only gives you visibility without impact.
Once you’re confident, move to On.
That’s how you avoid locking out half your leadership team on Monday morning.
Why This Changes the Game
This control closes the most dangerous gap in identity security: human delay.
With Require Risk Remediation:
- High-risk accounts are contained instantly
- Attackers lose access at the next sign-in
- Users self-service their recovery
- Helpdesk load decreases
- Admins are not waking up at 3 a.m.
It’s simple, but it’s powerful.
Final Thoughts
Identity is the front door to everything in Microsoft 365.
If an attacker gets in, email, SharePoint, Teams, OneDrive, and data are all exposed.
Automated risk remediation turns identity protection from passive monitoring into active defense.
If you’re running Entra ID P2 and not using this yet, that’s your next step.
Set it to high risk.
Exclude your break-glass accounts.
Run report-only mode.
Then enforce.
You’ll sleep better. And your users will be safer.
If you were implementing this tomorrow, what would you check first: licensing, exclusions, or risk logs?

Leave a comment